Here goes nothing, my first official tutorial.
I made this dress for Maria from a couple of thrift store finds. (surprise, surprise)
I have one side note before you go on. I am self taught in the sewing and refashioning department, so don't be too critical of my technique. This is how I made the dress, not to be confused with the correct way to make this style of dress.
Here we go...
This is the finished dress. Pretty cute isn't it?
O.K., I started with these 2 women's shirts from the thrift store.
They both cost under $2.00 each. I feel bad spending over $2.00 on anything I am going to cut apart. So most of Maria's summer wardrobe cost me less that $5.00 a garment. Love it.
I started by putting the tank on Maria inside out so I could pin where I wanted to take in the sides and straps. You could probably use a tank you already have that fits as a guide for resizing. I was able to bribe Maria with some play money. I am not sure if this was genius or cruel, either way it worked. The hard part was getting it off without poking her with a pin.
Don't you love her smile?
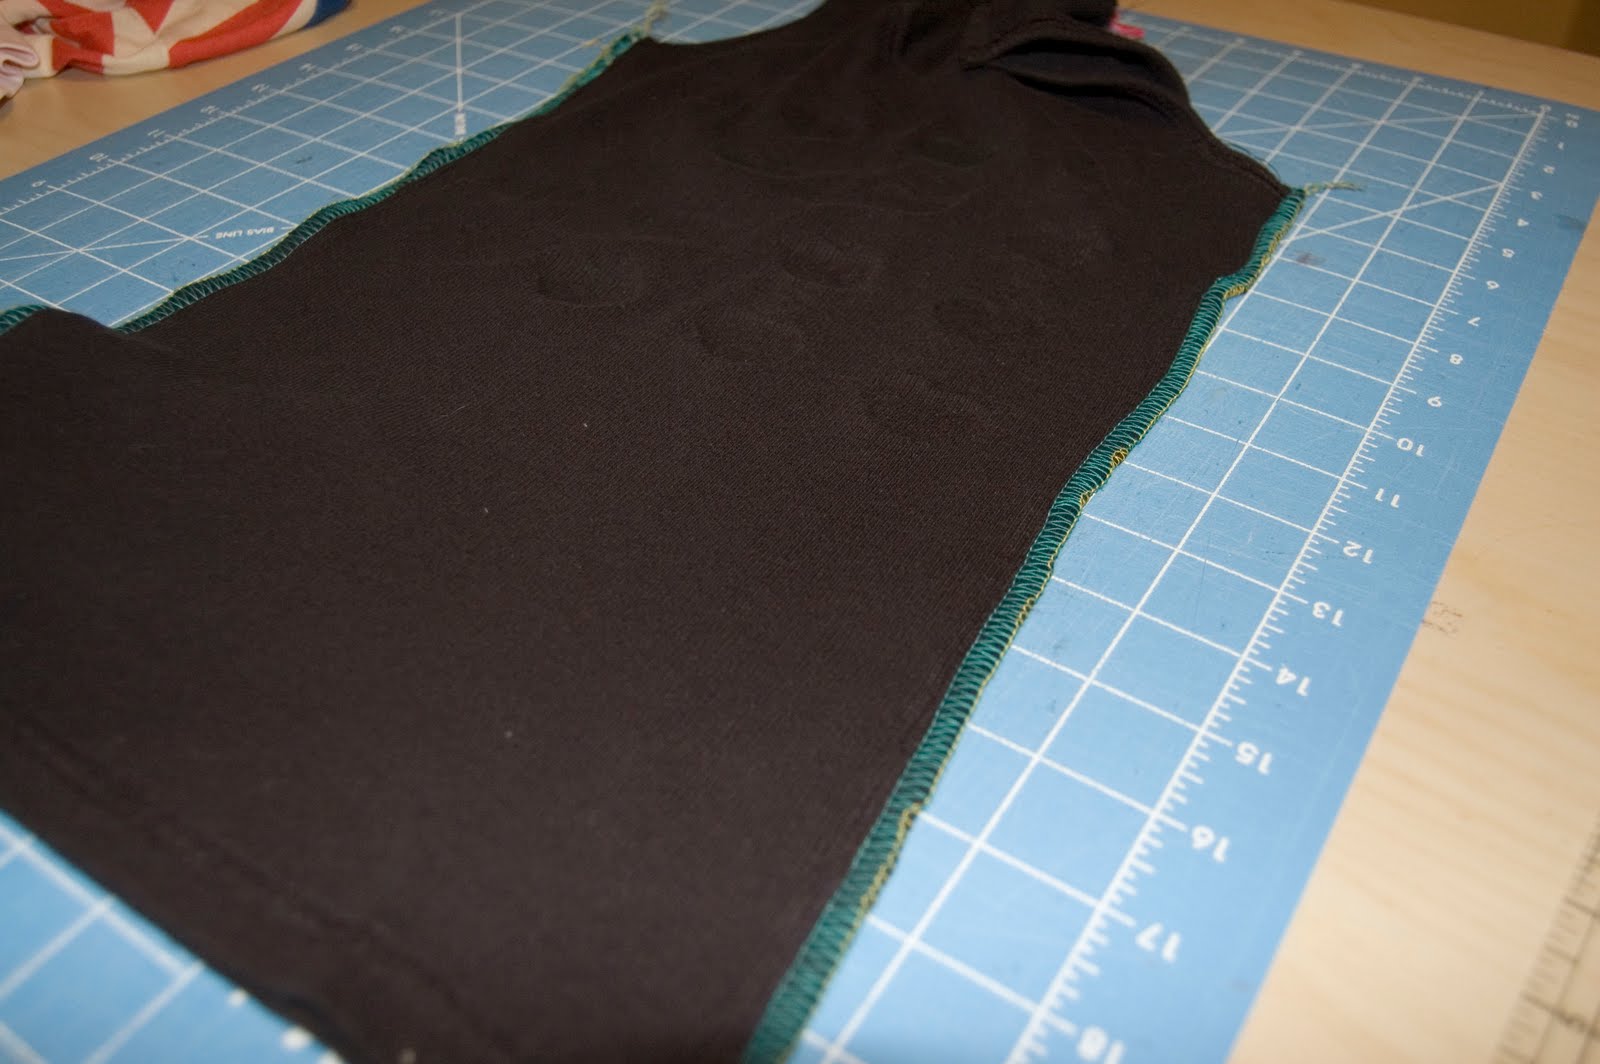
I then pinned all the way down each side of the shirt, to mark where I wanted to sew.

I followed my lines and sewed up the sides and...

... across the shoulders. Notice, I have not cut any of this shirt yet, not even the length.
Once I have sewn all the seams, I cut the extra fabric off the sides and the shoulders.

Once the extra fabric was cut, I serged the seams.
Next, I turned the shirt right side out and pinned where I wanted the skirt to start. I used one of Maria's tanks as a guide.
Now I need a base for my ruffles. I had this t-shirt that was donated to me from a friend.
I liked the length of this striped dress Maria already had. I decided to use it as a guide. I put the tank on top of the pink t-shirt and then the striped dress on top of both. I adjusted the pink t-shirt until I had it lined up with the bottom of the dress.
I removed the dress and marked where I wanted to cut the top of the pink shirt.
I cut the pink shirt at the top and on the sides.To mark where I wanted to cut the sides of my skirt, I started with the width of the tank and cut at an angle, so I would have an a-line shape when done. Making any sense at all? I hope so.
I placed my skirt fabric right sides together and stitched up one side.
I serged that seam too. I love my serger. It makes feel like a better sewer when my projects are serged on the inside. There's a beginner sewing tip for you- buy a serger. I makes you look like you know what you are doing:)
Now for the fun part, the ruffles. I cut three 2.5 inch strips. If you have more fabric, you can add more ruffles. I just made what I could with one shirt. The challenge of refashioning. After I cut the strips, I cut one side, so I had a long strip of fabric to gather.
I thought I had pictures of the gathered pieces, but I guess not. I just used a gathering stitch on my sewing machine and then placed the first ruffle at the bottom of the skirt. I had it hang over the hem about 1 inch. After sewing it on, I added the next row. I just estimated on the spacing. I made them as even as I could and left about 2 inches at the top for a waistband.
Once all the ruffles were on, I folded it in half (right sides together) and stitched up the side.
I turned the skirt right side out and OOHED and AHHED over how cute it was. Then I cut the top band of fabric off and flipped it over onto the skirt (right sides together)
After sewing the band to the skirt, I put the tank inside the skirt, flipped the skirt over and sewed the skirt to the shirt. I doubled checked my length before I finally cut the tank.
Trim all your extra thread, and there you have it. A cute new dress for summer!
Thank goodness that's over. Tutorials are a lot of work, especially when you are not really sure what you are doing. I hope, if nothing else, this was inspiring.
Let me know what you think.
Happy Sewing!!
Rhiannon
This was posted on
The Train To Crazy. Check out her Make it and Wear it post. It is full of inspiration.